Laser Alignment
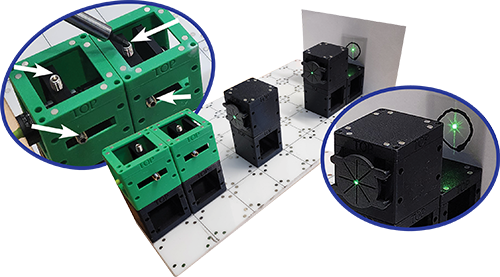
- Place a laser source (green1) on top of two base cubes (black), and position it on the magnetic base plate. Remove the covers from the laser source and unscrew the four set screws enough to loosen them a little bit.
- Arrange two targets mounted on cubes in front of the laser (see image below), at least three cube lengths away from each other and one cube length away from the laser.
- Set up a flat target such as paper beyond the the cube mounted targets, to see how the laser needs to be adjusted.
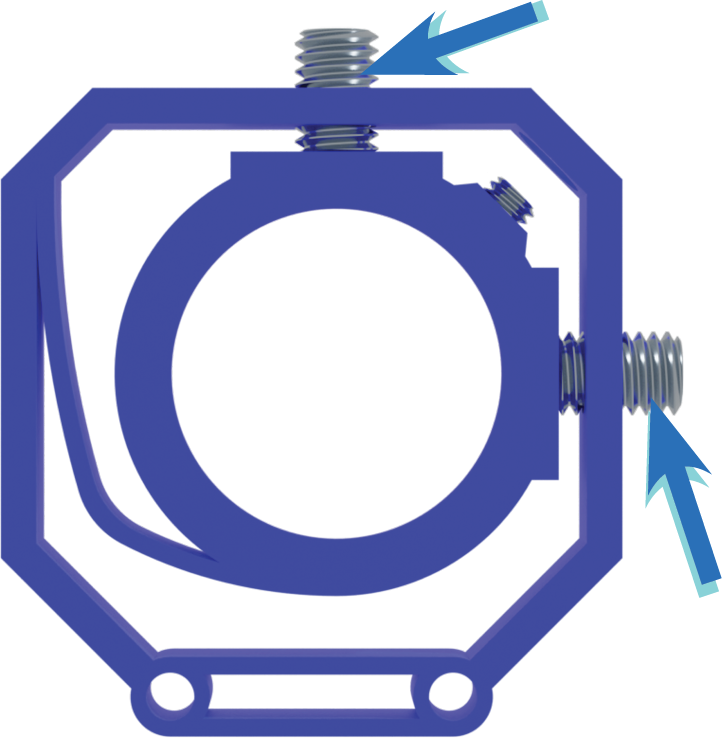
The set screws push the inner mount horizontally and vertically, allowing precise control of mount’s movement. As a result, you can make small adjustments to center and tilt the laser so that the beam path passes through the center of both targets.
Recommendations
Place two targets mounting on cubes in front of the laser (see image below), at least three cube lengths away from each other and one cube length away from the laser. Set up a flat target such as paper beyond the the cube mounted targets, to see how the laser needs to be adjusted.
Footnotes
The light source cubes may be another color. Printing them in the color of the laser they contain is recommended when possible. However, in the case of changing the color of the laser within the cubes, it may be beneficial to use white cubes and indicate the laser color another way (e,g. the laser color with electrical tape on the cord).↩︎